Showing posts with label tutorial. Show all posts

Thursday, 30 January 2014

S12 shaped card tutorial

It's Anjie here today with a tutorial for Studio 12 at Polka Doodles.
I am going to show you how to make a shaped card using a die. 
The papers and embellishments I have used are all from the fabulous Studio 12 CD-rom...Picknix Collection 1.
To start with choose the die you want to use and a card blank that is just smaller than the height of the die.
Lay the die over the top of your card blank so the top of the die hangs over the top of the card. I have also chosen to have it over the edge at the bottom as well as this die wouldn't stand up.
Pass through your die cutting machine and you will now have to shaped card.
To make up your card chose a paper and use the next size die to cut out the paper.
 Trim the top and bottom of the die cut paper to have straight edges at the top and bottom to match your card blank.
Next choose all your embellishments and cut them out. 
 I then used a distress ink to ink the edges of the card, the paper and all the embellishments.
 And finally put your card together. I added a bit of lace and some faux stitching around the edges of everything.
I hope you found this useful and will try it out.

Wednesday, 29 January 2014

Get in Shape Tutorial!!

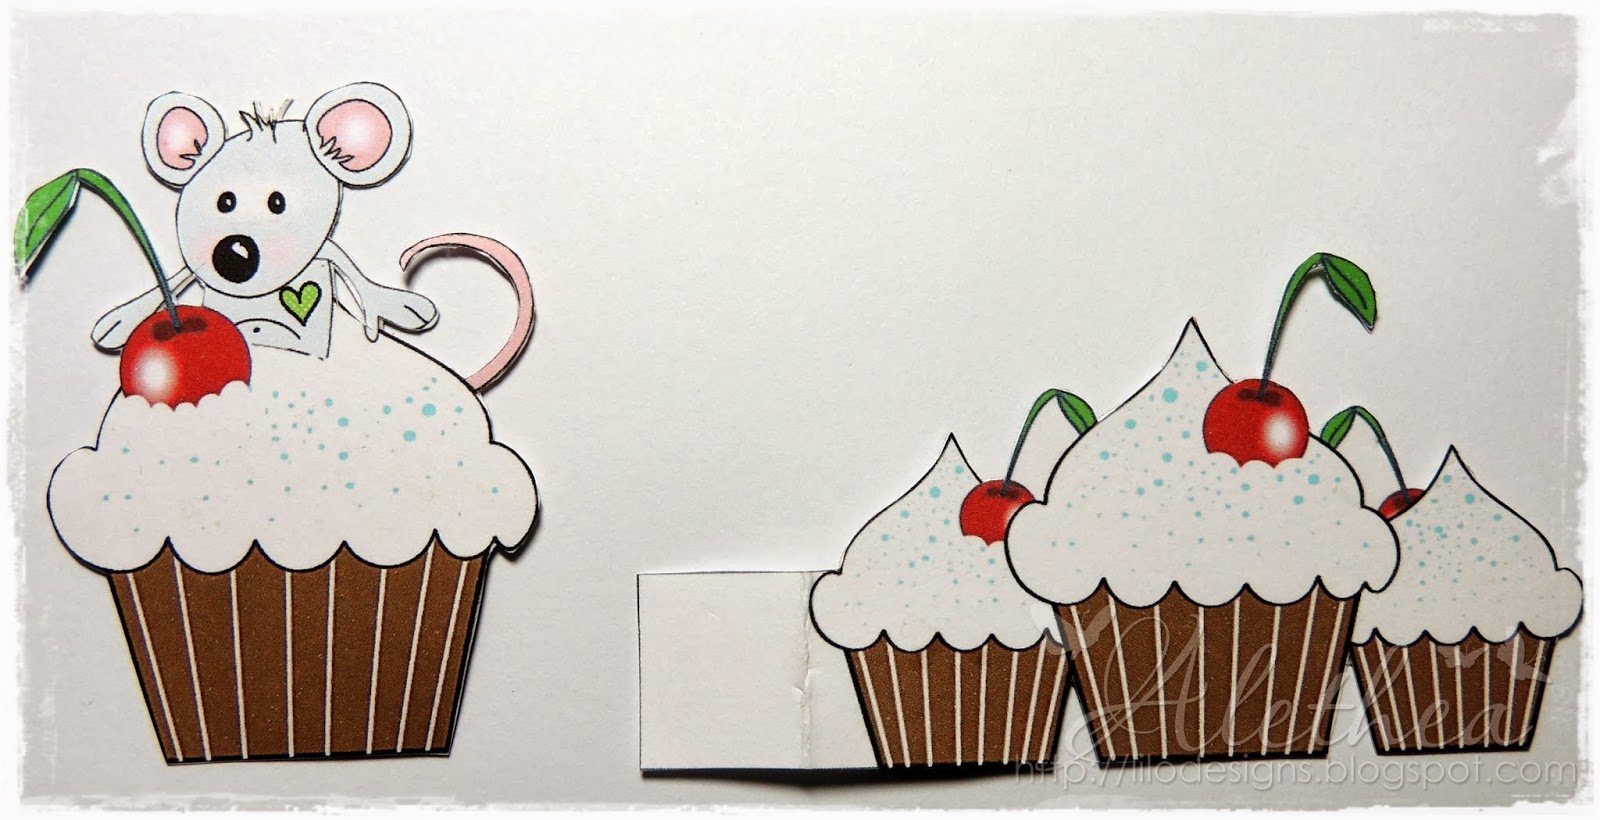
Hello, Alethea here with a quick tutorial to share!! It's coming to the end of the school holidays  and we have been away a lot so the tutorial I had planned never eventuated... So today I decided I would do a Joy fold card but while browsing through the fabulous Polka Doodles cd rom collection that I have, I came across these fabulous Get in Shape cards from the All Around and Everywhere cd so thought I would share that with you..
I decided to use Benny Mouse Get in Shape card so I printed out all the elements I wanted for my card. I made the base of the card to the measurements of 4"x 5 3/4", then sized the rest of the elements to fit.

I then cut them all out and pasted the back and fronts of the images together


Because these were not printed on proper cardstock I decided to stick it onto some white cardstock but before doing that decided to add some ribbon.

 Before sticking this panel on the white cardstock I added the cupcake and mouse elements. I was going to 3-D the mouse and cupcake but decided because I stuck it at the back it would look a bit silly and not sit properly, glued it on instead.

I then stuck it all down on the base cardstock and finished the card off by adding  kindyglitz to the sentiment, the cupcakes and the centres of the flowers. I also added some crystal effects to the cherries to make them look shiny.

Such a sweet card.. I love these Get in Shape cards and there are loads to choose from... Lots of other things on the All Around and Everywhere cd that I want to create now so watch this space....
Don't forget there are so many cd collections over at the Polka Doodles store including the new collections Dollie Daydream and Dollie Daydream goes East.
Thanks for stopping by.
Alethea xx


Saturday, 25 January 2014

Circular Gift Bag Tutorial


Hi there !! Lizzie here, its my turn today to share a tutorial with you.
Several people asked me how I made this gift bag
so I thought I'd make one for this tutorial !
I used  the Polka Doodles CD
Cherry Blossom Lane.

Cherryblossom Lane CD Rom Collection

To make this you will need :
A score board and tool,
Die cutting machine,
Grand Scalloped circle dies,
3D Foam pads, Flowers, Leaf die/punch
Swirl die, ruler, glue gun, silver and green card,
3 sheets double sided card, ribbon, sentiment,
Characters, inks, glitter glue, hole punch,scissors......
phew think that's it !!! lol


Using two of your double sided sheets of card,
cut a circle from each and ink the edges.


On your third sheet cut a strip 6cm wide using the whole length.
Score 1cm on either side.


Ink the score lines and then fringe cut the sides so that the paper
will curve to go around the inner of the circles.


Using the hole punch, punch two holes for
the ribbon to thread through. 


Adhere using hot glue the strip of card to one circle.


Then adhere the other circle on top
 

Tie your ribbon through the holes,
 ink and glitter the edges around the sentiment.
Cut and adhere the swirl with the flowers and leaves.
Add the characters and sentiment and more flowers.
Glitter all the flowers and the bag is complete !


Happy Crafting !!!

Wednesday, 15 January 2014

Tutorial: Bookmark

Good morning, crafty friends. Asha here and it's my turn to share a tutorial with you. Today I have a cute little project you can make for yourself or as a gift for someone. It's simple does not require any fancy tools AND you can use up your scraps.

So let's get started:

1. You will need a large (at least 2") paper clip (coated or uncoated), 4 punched / die-cut circles and a few flowers.


You can use dic-cut / hand-cut flowers or ready made flowers. I'm using these spiral flowers from Polka Doodles' new Dollie Daydream Girl Talk CD.


2. If you're using spiral flowers, roll them up as shown below. Remember these are going on a paper clip, so roll 'em tight and don't make them too big.


3. Next, using some tacky glue ( eg Tombow), adhere the leaves to one of the round bases. Make sure the leaves are on the top half only so that they show on the outer edge of the book.... it being a bookmark. ;-)


 4. Then, slap on the smaller circle and just wait a couple of minutes for the glue to dry a little.


5. When it's firm to the touch, add more glue and arrange your rolled flowers and any other embellishments.  I used 3 spiral roses form Polka Doodles Dollie Daydream Girl Talk Build a Fleur and added some ribbon and a few bling to fill in the gaps.


6. Take your large paperclip and attach it to the other round base. I'm using a large glue dot. You can also use hot glue. Wet glue is not advisable because you want the base to be firm, dry strong enough to hold the weight of the posy.


7. Attach the posy to the paper clip base.


8. This is what it looks like from behind. Adhere the smaller circle to reinforce base.  


9. And here it is in action. Now you see why I said keep the leafy arrangement on the top half! 


That's a fun little project and cute any-occasion gift. I hope you'll give it a go and use up all those bits and bobs you've got lying about the craft room floor. AND it's the perfect excuse to buy the Dollie Daydream Girl Talk CD!

Thanks for stopping by today and I hope your day is filled with sunshine and pretty flowers.

Beijinhos!

Sunday, 12 January 2014

Tutorial: Make a Shaped card from a Digital Image

Hi everyone.  Karon here to share a tutorial with you today.  I wanted to show that Nikky's digis and CD's are so versatile, that you don't need a fancy cutting machine to make a shaped card.

You find a digi image that you feel will work.  Straight edges or connected in some way.  I am using one of the pre-coloured shoe embellishments off the new Dollie Daydream Girl Talk CD, just good old Microsoft Word and a steady hand.

I first placed the image of the shoe into a Word document and then sized it to the finished size that I would like my card to be.  In this instance, I sized the shoe to be 5.5" wide.  Then copying and pasting and positioning on the paper (narrowest margins used and landscape view).


Now comes the good part :-)  Print out onto card stock and cut out around each of the shoes.  One of the shoes you only need to cut out the bow.

You are going to use one of the shoes to create your template.  I am going to use a piece of cardstock for the base of my card.  I used a 8.5" by 11" piece of card stock, and folded it in half so it is 8.5" by 5.5".


Place the shoe on top of the folded card base and you must leave a little of the left of the shoe over to the left of the fold.  Then carefully trace the outline of the shoe onto your folded card and cut out.


This is now the base of your card.


Your first layer of your shoe can be stuck to this.  I then cut just the bow off the second shoe and placed this using pop dots to add depth.


For the inside I just cut the left edge of the shoe so that the shoe will fit on the inside.  To get a small shoe to be able to write your greeting on, I just flipped the shoe in word, printed it out, but then just flipped it back over and used the white side of the shoe - you can size this accordingly in word - mine is 2.5" wide.


Then you can add any embellishments you would like to the front.  I added a layered flower, also available on the CD and cut by hand and a topper.


And there you have it a lovely shaped card.  Why don't you give it a go.

Saturday, 4 January 2014

Tutorial: A Christmas Card Keeper!

Hello everyone, Zoe here! Today, I'm going to share my very first tutorial with you all. As it's the start of the year, most of us are tidying away the Christmas decorations and cards. As crafter's we all (I assume) receive gorgeous handcrafted cards from our crafty friends and, if you are like me, I can't bear to hide them away in a box what alone get rid of them. So I've made a Christmas card keeper that can be filed into Project Life or into a journal or folder. 


In order to make this you need two paper bags and some papers and embellishments to decorate, along with some ribbon. I chose to use papers and embellishments from the fabulous 'Angelberry' collection.

I started by preparing my two paper bags - 
I cut off the handles and glued the bases together.
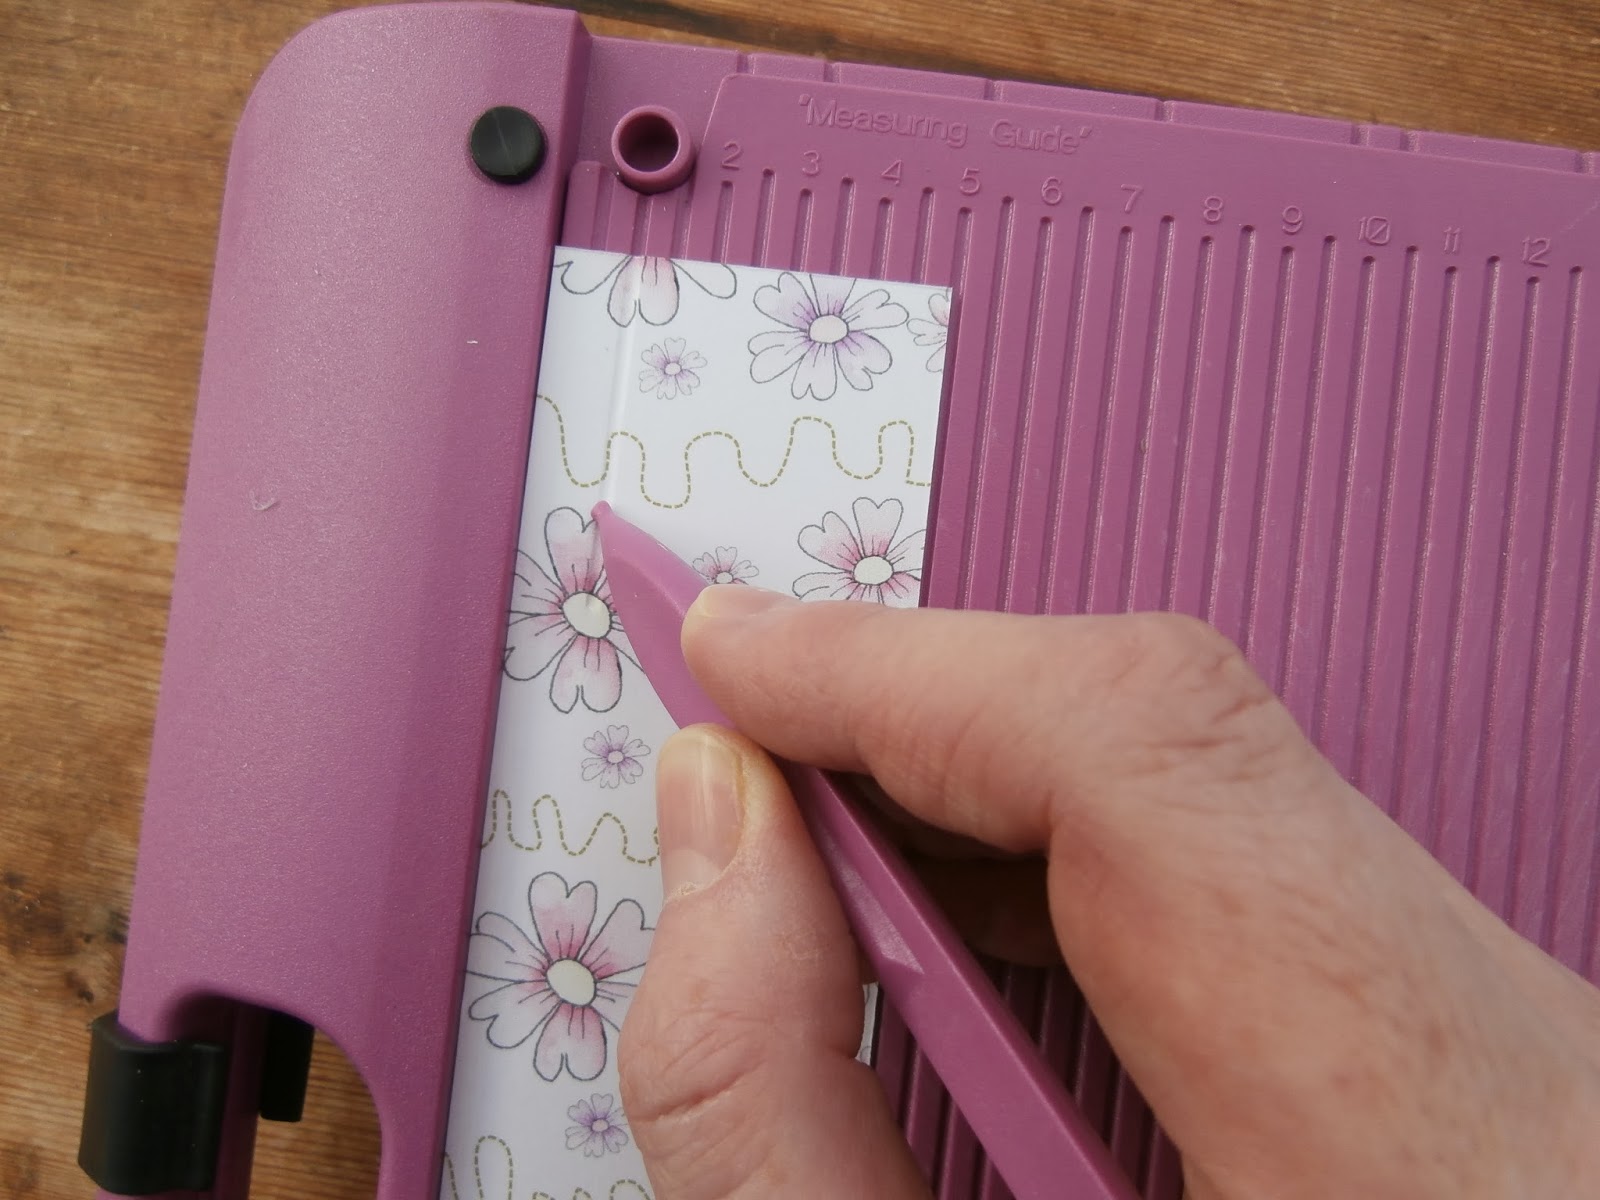
As the two bags are going to lie like pages (like a bag album) I spent time making sure I could fold the bags backwards and forwards once the glue had dried.
Burnishing each fold/line.

Once happy I set about decorating my base. As I used two bags there are obviously two pouches to hold cards and four sides to cover so I printed off enough papers and embellishments to cover all the areas.


The bag bases create the spine so I also decorated the part that's inside. I may stick one of my bigger cards to this spine, creating another "page" if you like. It's important when covering the bags that you don't glue the openings together as this is where you keep your cards!!

Here you can see a small card popped inside the bag. My idea was to create a project to keep those special cards and I feel this is a great way to do so. Once each pouch is full you could clip it together or punch a hole and secure it with some extra ribbon. I haven't done this yet as I haven't taken down my cards!

As you can see in the top photo I punched two holes in the spine and tied some ribbon through, I could leave it as a separate album or pop it into a folder or journal. The finished project measures 8 1/2 x 7 inches.

I enjoyed preparing this tutorial for you and hope it provides a little inspiration.
Take care Zo x