Thursday, 15 August 2013

Life is much better when you're laughing

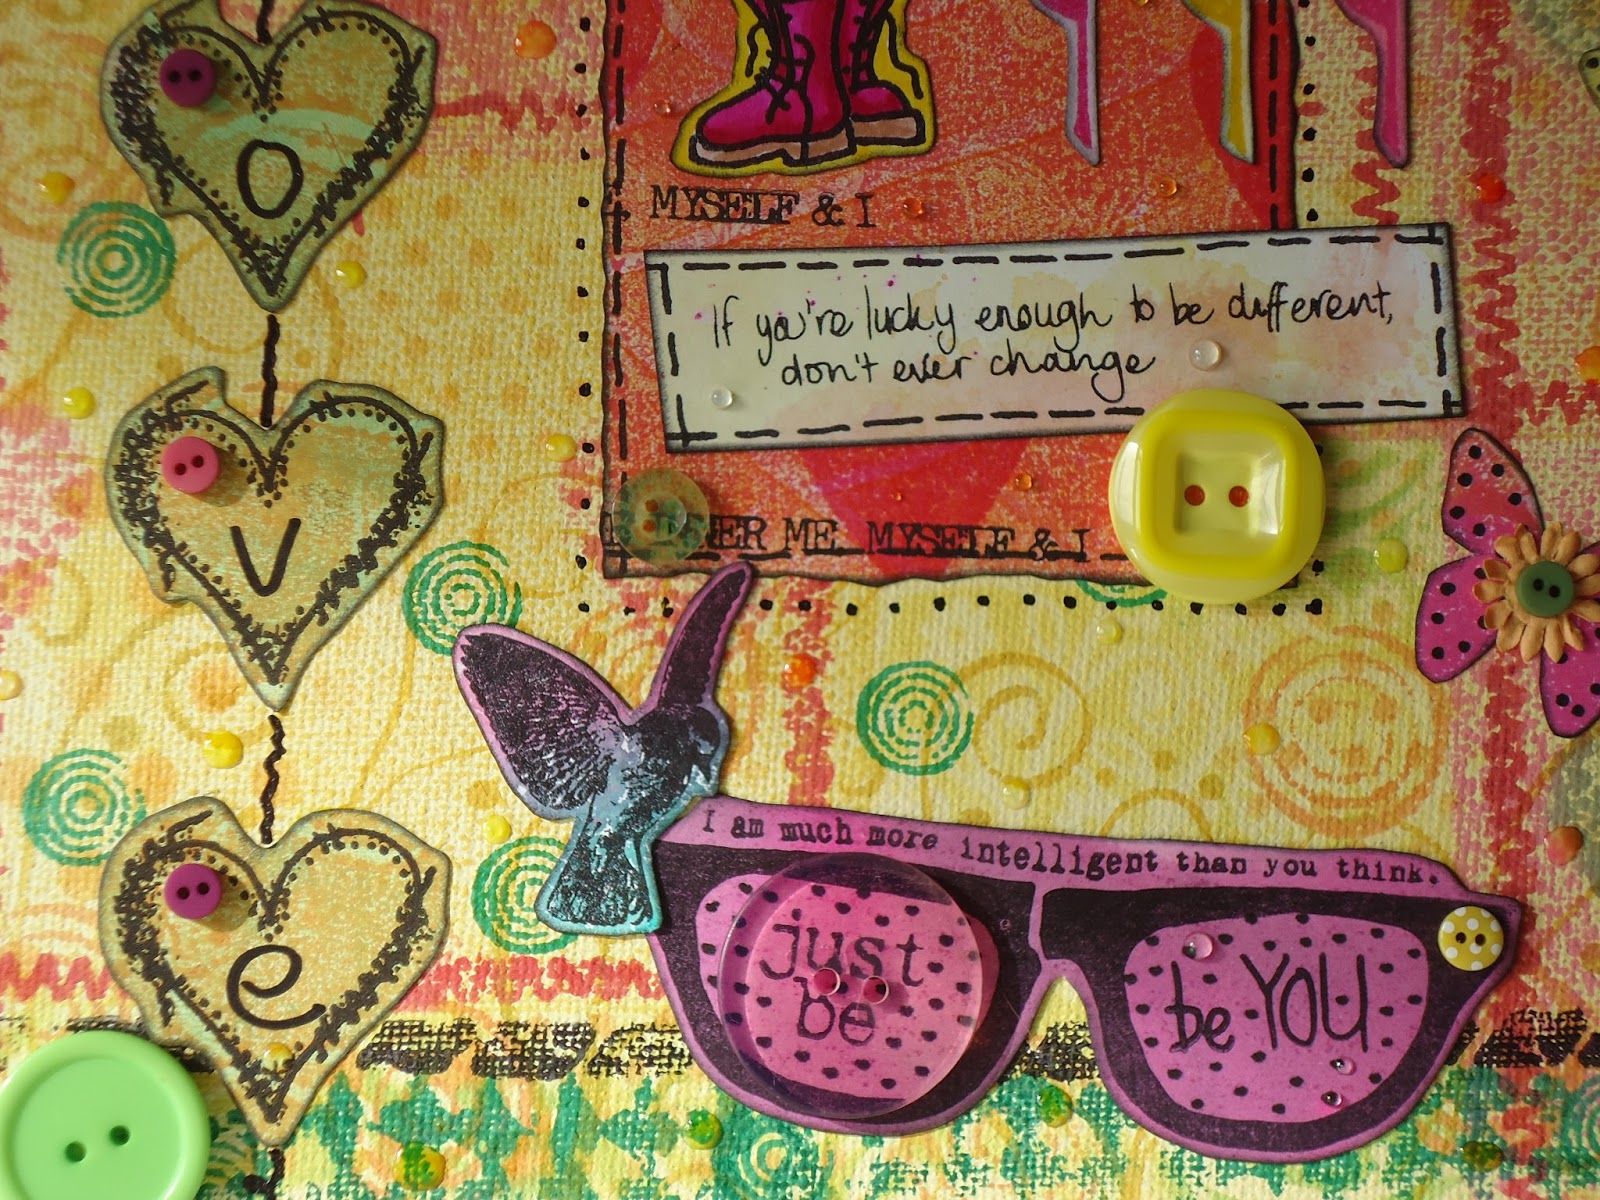
Hello all Dee here with today's Studio 12 project.  This is something I did quite some time ago now but I've been holding off till the stamps were back in stock.  Well they are now in stock at last so here is my colourful 12x12 canvas.  There's lots of layers of paint and ink and I used stamps and masks on the canvas to give an overall riot of colour.  These are not my usual colours it has to be said, I always feel far more at home with cool blues and purples, but I wanted this to be happy and to make you smile when you looked at it, hopefully I have achieved that.

All the stamps are Polkadoodles Studio 12 and Susan K Weckesser at Studio 12. I had so much fun making this so I hope you all like it.


Friday, 9 August 2013

Week 32 Challenge - In The Garden

Before we begin this weeks challenge, the winners of Challenge #30, Christmas in July, are as follows

1st Place - Laura Love - please use the code PD1W2424 to claim your prize
2nd Place - Delphine - please use the code  PD2W2424 to claim your prize
3rd Prize - Debbie Simpson - please use the code PD3W2424 to claim your prize

Congratulations to you all - you have all won a copy of our "Emma Canning Nature digi kit"!!!. Please all email Nikky and don't forget to quote your winner's code - we cannot release prizes without it!  Blinkies are in the sidebar for you to grab. Did you also notice that your prize also fits in with this weeks challenge .... hee, hee, hee!

Now the theme this week is .....
"In the garden"
and we cannot wait to see what projects you make using this theme as your starting point. However .... just to keep the DT on their toes, (lol) they have an added twist this week ........ as well as using the theme, they are also using different "DigiWorld Downloads" to help create their projects. You will find their projects this week under the relevant DigiWorld download they have used.

Our Top 3 winners of this challenge will all win one of these great downloads and our No 1 winner will get both of these fabulous bundles to play with so make sure you get your entries in!

Using the Shake a Tail Feather kit....
Tail Feather download bundle

ANJIE: For my card this week I used a graphic program to create the card, so everything is flat, although it doesn't look it because of the shadows that are on the elements in the download kit! Digi kits (and CD's) are great for creating cards for those who are conscious of postage charges, but you still have the freedom to be as creative as you like.
JAN:  Here's my project using the 'Shake a Tail Feather' download - I made a garden journal to keep gardening tips in - I will add pages as I go along.
Ruth:  I've gone for a very clean and simple and a monochrome finish this week.  I really do like the black and white image that comes with the kit, so I printed it onto linen white card, mounted it onto black card and then added it to the white linen card base.  I've then added some tiny gems here and there and then tied a fancy black ribbon bow to the top.  Quick, easy and simple!
Using the Hootie Trees kit....
      Hootie Trees Download Bundle                                   
Liz: Its my turn to do a tutorial, so I wanted to do something other than a card. I used this fabby Digi Download to make my family tree. EVERYTHING you see that is printable on this project is from this download!!! I am researching my family history and I thought what better way to use these trees as a picture board for my little girls room!! In fact as its the summer hols you could make this with your child very easily. After all they all do their family tree at school!! What a great project to take to show and tell! The idea is each tree type is a different generation. Check out this weeks tutorial for how I made it.
KIM - I've used the Hootie Trees download bundle to make a little 'mini album' created from one sheet of plain 12" square paper, and some of the gorgeous papers, sentiments and trees from the download.


Now the lucky winner of this week's challenge will win one of these delish DigiWorld Downloadables, which is a great way to begin your Polka Doodles digi obsession. Why not check out all the other digi downloads in the shop as there are oodles and oodles of Polka Doodle loveliness waiting to inspire you.

 Now it's your turn and you have until 12 noon on Sunday 18th August to enter and Good Luck!

We have a few little rules which makes our life a lot easier when we come visiting your blog:

1.  Please follow the challenge theme!
2.  Only enter your creation into a maximum of 10 challenges including Polka Doodles
3.  Please link your blog post and not your blog address with the linky tool - this saves us from searching your blog for your entry
4.  And please, no back-linking to previous posts - these will be disregarded from our top three voting
5.  If you have word verification on your blog it really does slow us down when leaving comments - please consider turning off word verification especially as the comment moderation has a spam section.
Mister Linky's Magical Widgets -- Thumb-Linky widget will appear right here!
This preview will disappear when the widget is displayed on your site.
For best results, use HTML mode to edit this section of the post.

Family Tree peg board


Lizzie here !!! Its my turn to do a tutorial,
I used this fabulous Digi Download to make my family tree.

Hootie Trees Download Bundle

EVERYTHING you see that is printable 
on this project is from this download !!!

I am researching my family history and I thought
what better way to use these trees
as a picture board for my little girls room !!
Infact as its the summer hols you could make this
with your child very easily.
After all they all do their family tree at school !!
What a great project to take to show and tell !!

The idea is each tree type is a different generation.

Here is how I made it.

Print off and cut out a tree of your choice to be the main tree.
I printed it off at A4 size at that fitted my board.
You could use a canvas to make this
so if you do make sure your large tree fits nicely.

Print and cut out enough trees for your family history.
I used three generations so chose three different trees.
Using a different tree for a different generation

Print and cut a topper from the download.
I needed more than one and stuck them together to
cover my board.


You will also need
1. Enough pegs for your mini trees and doodle dewdrops.
2. A back to hang your project with. I used the back of a clip frame.
3. Hot glue and gun.
4. Double sided tape and 3D foam pads.

Using your double sided tape
cover the board with your printed topper sheet.
(I stuck mine to the board and then cut the excess away
as the first time I did it I didn't get it straight !)

Take your large tree and place a double layer of foam pads
on the back to create height.


Using your mini trees to help you,
space out and glue into place your pegs.


I then glued Doodle Dewdrops onto each peg.
You could use a mini picture of each person if you wanted !


Write on the back of the mini trees
1. The name of the person
2. The date of birth
3. Sadly if that person is no longer with us
the date they passed.

You can write in the name of the persons tree on the bottom
in the white area if you so chose,
my handwriting is rubbish so I didn't !!!


Hope you like it !!!
My eldest now wants me to make her one !!
Happy crafting.